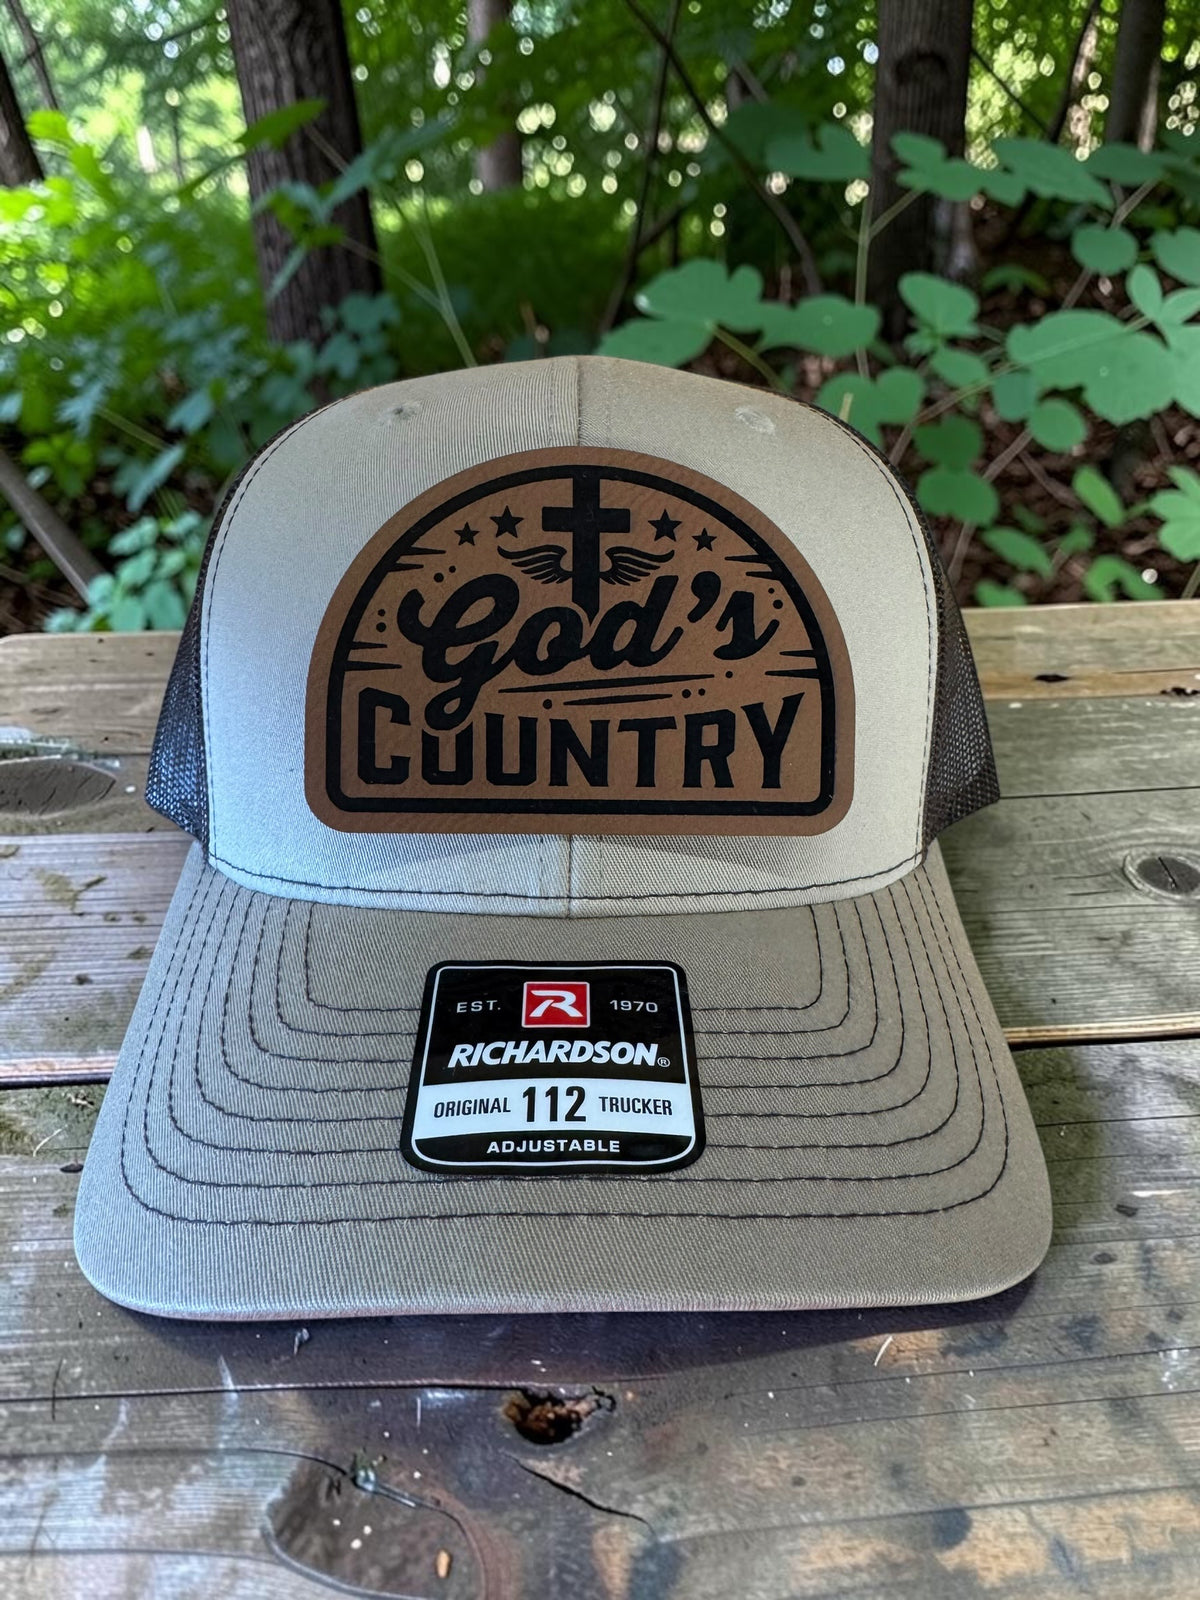
God's Country Laser Engraved Leather Hat Patch
God's Country Laser Engraved Leather Hat Patch
Couldn't load pickup availability
Celebrate your faith and heritage with the God's Country Laser Engraved Leather Hat Patch—a timeless embellishment that brings spiritual meaning to your everyday wear. Crafted from premium leather with precision laser engraving, this durable patch delivers lasting beauty that won't fade, peel, or compromise. Whether you're personalizing a cap, beanie, or trucker hat for yourself or sharing your beliefs with loved ones, this patch serves as a powerful statement of conviction and style. The bold, polished design transforms any headwear into a vessel of your values, perfect for personal devotion, ministry branding, or faith-centered gift-giving.
Patches measure approximately 3" wide or 2" tall maximum, proportionally sized.
Order 3 or more and get $2 off each patch. These must ship separately from your DTF order. They will be shipped in a stay flat mailer. This does not qualify for free shipping.
APPLICATION INSTRUCTIONS :
- Preheat hat in hat press for 40 seconds at 325°F with thin silicone sheet between the hat and platen
- While heating hat, heat the back of the patch with a heat gun on low for 15 to 30 seconds until you see the adhesive change and the patch may begin to curl (reflective, more tacky) (note: it's a heat gun not a blow drier). This shows that the print has become more pliable and ready to attach to the hat.
- When 40 seconds is over remove the hat press heater and silicone pad from the hat and apply the patch to the hat in desired location, careful it's hot.
- Press again for 40 seconds with light to medium pressure with a silicone pad on top of the patch and hat. Check edges of the patch and make sure it stuck, if not adhered on the edges, repress the hat until you get desired results.
TIP IF YOU DON'T HAVE A HEAT GUN: While your hat preheats in the press, place the patch adhesive-side down on the heat press to warm the adhesive until it becomes tacky. Keep the protective backing in place during this step. Remove it only after the adhesive is warmed and ready. This approach eliminates the need for a separate heat gun.